veganmosfet and I took a crack at a 4G Cradlepoint router IBR600C-150M-B-EU (firmware version 7.22.60) last year.
In this post, we will dig into the device’s cloud management platform NetCloud. I’ll show you how to poke at the TLS-encrypted communications and how I found a RCE bug in NetCloud by analyzing network traffic.
Disclaimer
As of June 2024, some of the techniques and scripts presented here might not work anymore. Cradlepoint released a new firmware update to patch the vulnerabilities we found.
However, dumping the flash and rooting the device should still be possible.
We assume that you have a rooted Cradlepoint router or managed to dump the rootfs from the device.
Background
At my previous company, we used the Cradlepoint IBR600C-150M-B-EU router for our product’s Internet connectivity. veganmosfet and I decided to take a look at this critical off-the-shelf device.
We found a couple of issues which we reported to Cradlepoint who are owned by Ericsson. Eventually, veganmosfet presented our findings at BSides Munich in Germany.
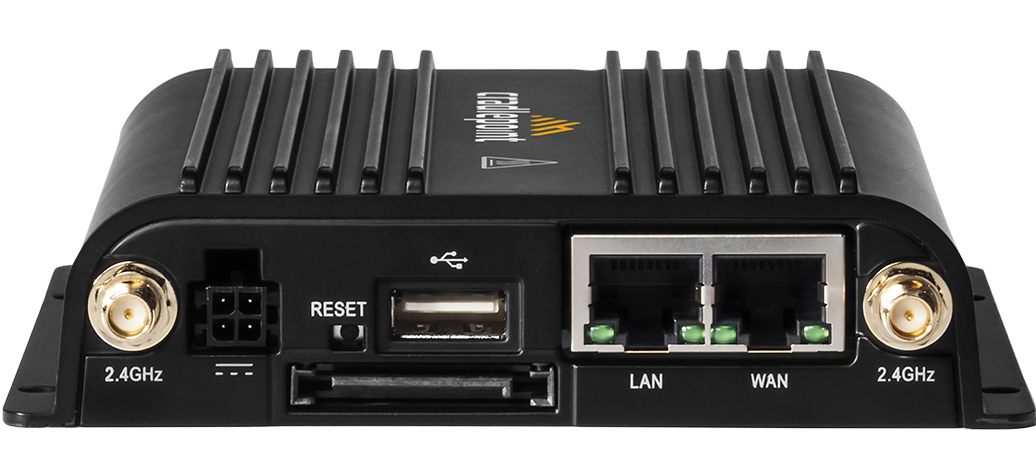
The device
The IBR600C is a small, semi-ruggedized LTE router for IoT applications. It connects to Cradlepoint’s cloud platform NetCloud for remote management.
The router’s firmware is based on Linux whereas all main applications are completely written in Python. This includes the web server, sshd, a custom shell, firmware upgrade, and other services.
veganmosfet dumped the router’s flash memory and installed a custom firmware image to obtain a root shell.
Having root, it’s relatively straightforward to intercept and poke at NetCloud communications. That’s what I did ;-)
Device registration with NetCloud
To actually see some NetCloud traffic, you need to register your router. All you need is to enter your NetCloud credentials in the router’s web interface.
Since we have a root shell, let’s register the router via the CLI:
- Connect to the router via SSH:
| |
- Grab the device’s access token:
| |
Example output: (2439001, 0, '2b29ffccbda7e45df943dc1e82a096af04e24249', 'stream.cradlepointecm.com', 8001)
Next, you can use the netcloud command to sign-up the router:
| |
On sniffing the router’s Internet-facing network interface, you should see some TLS traffic.
To understand how the registration process works, you can take a look at our testing script. You can use it with your NetCloud credentials to register a router and to poke around. Note: As of June 2024, the script is probably outdated and you need to adapt it ;-)
Decrypt NetCloud TLS traffic
You basically have three choices for logging plaintext NetCloud traffic (you will need a rooted device or access to the rootfs):
- Export the
SSLKEYLOGFILEenvironment variable on a rooted device and dump traffic into a PCAP file. - Add a fake CA certificate to a rooted device’s trusted CA store and MITM traffic with mitmproxy.
- Emulate the rootfs in Qemu and log traffic (limited functionality as we don’t emulate a full router).
Decrypt NetCloud traffic in Wireshark
Go through the following steps to create a PCAP file on the router and decrypt the TLS traffic in Wireshark afterwards:
- Connect to the router via SSH, set the
SSLKEYLOGFILEenvironment variable in/etc/rcand reboot the router. If that’s not possible, make the changes to the rootfs and reflash the device.
| |
- Start
tcpdump:
| |
- Start a HTTP server to download the PCAP:
| |
- Download PCAP:
| |
Import the pre-master secret into Wireshark: Grab the
/tmp/ssl_key.txtfile from step 0) and add it to Wireshark (Preferences->TLS->(Pre)-Master-Secret logfile name)Export the TLS stream as YAML:
Follow->TLS Stream->Show Data as YAMLFinally, parse the YAML file with my script.
MITM NetCloud traffic with mitmproxy
You can also MITM the TLS traffic to log communicatios on the fly. Here, we used a Raspberry Pi and set up mitmproxy in transparent mode:
- On the Pi, enable IP forwarding, setup
dnsmasqand configureiptablesrules. For example:
| |
Setup the router’s WAN interface to use your proxy as the default gateway (e.g., via the web interface)
Install mitmproxy on the Raspberry Pi (here we build it, but you also should be good to go with a simple
$ pip3 install mitmproxy):
| |
On the rooted CradlePoint device, copy your MITM CA certificate into the file
/service_manager/services/wpcclient/stream.crt(this is the router’s trusted CA store)On the Pi, copy your MITM CA certificate into mitmproxy’s folder. It must have the name
mitmproxy-ca.pemand the following structure:
| |
- Finally, fire up mitmproxy using my logging script:
| |
You should now see some decrypted NetCloud traffic. If you don’t, make sure the device is registered (see above).
NetCloud RCE
By analyzing the NetCloud traffic, I noticed that the router engages in a license sync from time to time. The license is sent as a pickled Base64 encoded byte stream. Here’s an example:
| |
The Python pickle module implements binary protocols for serializing and de-serializing a Python object structure. There’s a big warning in the Python documentation:
Warning: The pickle module is not secure. Only unpickle data you trust.
It is possible to construct malicious pickle data which will execute arbitrary code during unpickling.
Never unpickle data that could have come from an untrusted source, or that could have been tampered with.
As we control the communication channel, it’s trivial to inject our own malicious pickle data to achieve remote code execution on the router’s and/or NetCloud’s side. For example, we can use this simple payload to get a reverse shell:
| |
I actually didn’t run the attack against NetCloud servers, but I was able to get a reverse shell on the router (the license file is sent in both directions).
To reproduce the attack, just go through the following steps (note: not sure if this still works in June 2024 💀):
Grab a rooted Cradlepoint router and set up your MITM box (see above)
Next, adapt the
_ATTACKER_IPand_ATTACKER_PORTvariables in mymitmproxy_netcloud_rce.pyscriptFinally, simply start mitmproxy, wait for the lisence sync to happen (e.g., reboot the router) and get a remote shell:
| |
- To quickly test the mitmproxy_netcloud_rce.py script you can do the following:
- In the script change the IP address to
127.0.0.1and the payload’s Python interpreter to justpythonorpython3 - Start
mitmdumpin one terminal window:$ mitmdump --rawtcp --tcp-hosts ".*" -s mitmproxy_netcloud_rce.py - In another window, start a netcat listener
- Tunnel a license packet:
$ cat license_packet_TO_netcloud.bin | openssl s_client -connect "google.com:443" -proxy localhost:8080
Actually, you don’t need to be a MITM to gain RCE on NetCloud server’s. If you have access to the rootfs, you could simply emulate and modify the router’s NetCloud client. It’s all Python bytecode which can be easily decompiled.
We already simulated some of the NetCloud registration in our testing script. Add code for license file handling and inject your malicious pickle payload. That’s it.
Responsible Disclosure
On 2023-01-05 we disclosed our findings to Ericsson who quickly released a patch shortly after and mentioned us on their Security Hall of Fame 🏆
Conclusion
In this blog post, I’ve shown you how to intercept a Cradlepoint router’s NetCloud communications. This is easily possible on a rooted device as you can add your own malicious CA certificate to MITM the TLS traffic.
After all, this is possible because there is no Secure Boot in place that would protect against such modifications. Also, Cradlepoint has made some wrong trust assumptions, thinking TLS would be sufficient to protect pickled data payloads against tampering.